The following outlines the formal procedure for generating reports of issued or received documents within the Gosocket platform.
1. Access to the platform
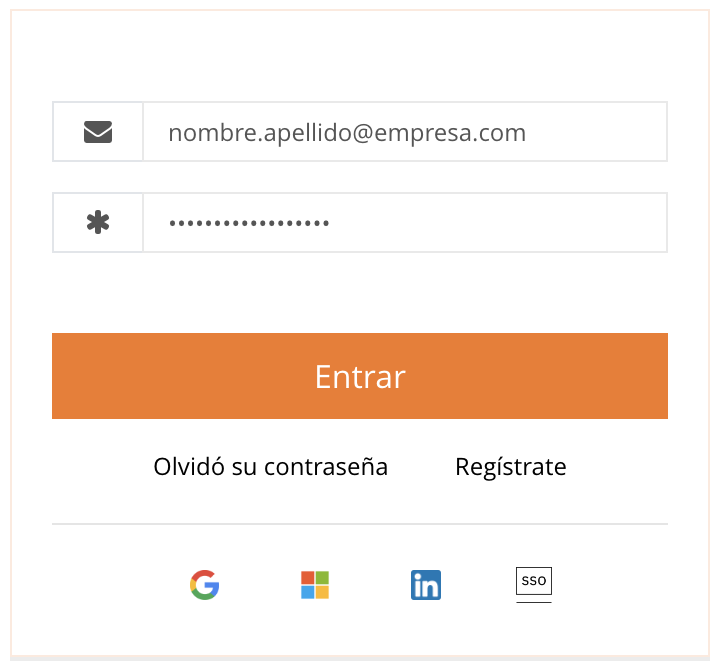
The user must access the institutional portal https://gosocket.net using their authorized login credentials (username and password).
2. Selection of document type
In the navigation bar located on the left side of the screen, the user must identify the Inbox section and choose the category required for the report: Issued Documents (Emitidos) or Received Documents (Recibidos).

Note:

The export function has the following limits:
- Excel: 300.000 documents
- PDF: 10.000 documents
- XML: 9.999 documents
3. Definition of the date range
The user must define a precise date range, both by Document Issue Date (Fecha de Emisión Documento) and Platform Reception Date (Fecha de Recepción Gosocket), depending on the reporting requirement.

4. Application of additional filters
The platform allows applying specific filters to refine the report results.
5. Executing the search
After configuring the filters, the user must click the Search (Buscar) button, which will update the list of documents at the bottom of the screen.
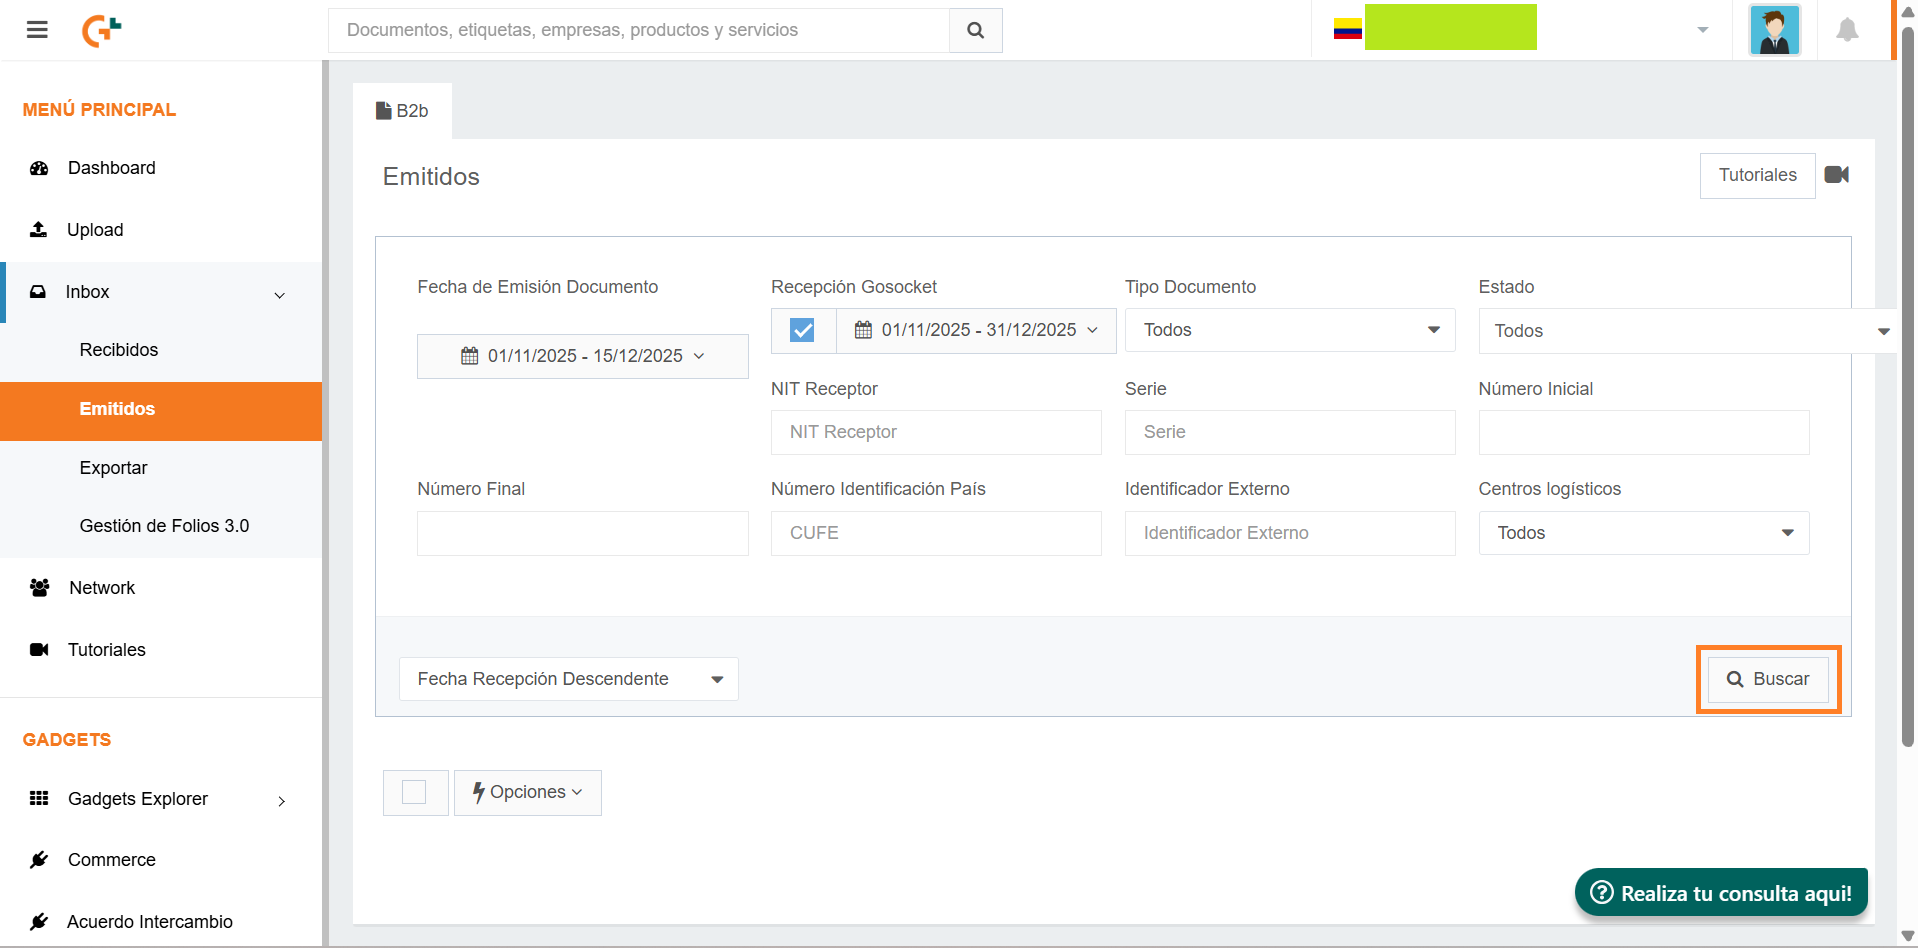
With the results displayed, the user must select the documents to be included in the report.
6. Selection of documents for export
- To select all items, the user should click the checkbox located at the top-left corner of the document list.
- To select documents individually, each corresponding checkbox may be marked separately.

7. Choosing the export format
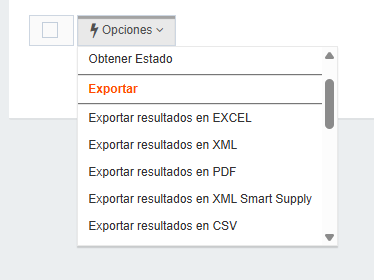
The user must open the Options (Opciones) menu and select the preferred format (Excel, PDF, XML, among others) to export the report. It is important to note that the platform does not issue a notification after this action is performed.
8. Downloading the report
Once the report has been generated, it can be downloaded by clicking the Download (Descargar) button, where the file will appear identified by the username and timestamp.

9. Validation of the status
The report will be available for download once the status column displays a verification icon (“Check”).

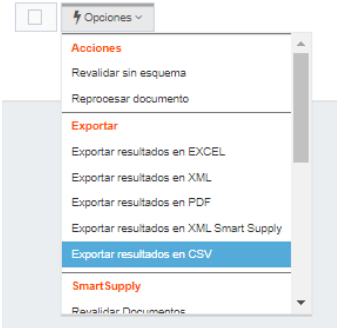
.TXT Format Export
To generate the report in .TXT format, the user must follow the same process described above. The only variation is selecting the option Export Results in CSV (Exportar resultados en CSV).
Was this article helpful?
That’s Great!
Thank you for your feedback
Sorry! We couldn't be helpful
Thank you for your feedback
Feedback sent
We appreciate your effort and will try to fix the article


